How to do a kickflip is one of the first technical tricks many skaters want to learn, and doing it well takes more than a single practice session. This expanded guide gives step-by-step instruction plus concrete drills, troubleshooting tips, setup checks, mobility and warm-up cues, and a practice plan so you can progress safely and consistently. Read through the sections in order, work each drill until it feels controlled, and use the progressions to turn a few successful flips into reliable, repeatable kickflips.
Key Takeaways
- Learning how to do a kickflip starts with wearing the right safety gear and choosing proper skateboard setup for control.
- Mastering your stance, ollie, and foot placement is essential before attempting the kickflip to ensure balance and board control.
- Consistent practice of ollie drills builds the pop and timing needed for a successful kickflip.
- Follow a step-by-step process: setup stance, pop with back foot, flick with front foot, catch the board mid-flip, and land centered over bolts.
- Avoid common mistakes like weak popping or late flicking by isolating and practicing each motion separately.
- Use progressions and drills regularly, including filming attempts and practicing on soft surfaces, to make your kickflips consistent and improve steadily.
Essential Gear And Safety Basics
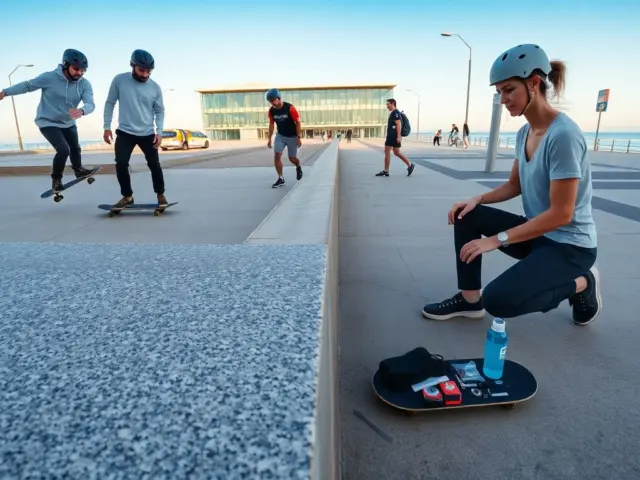
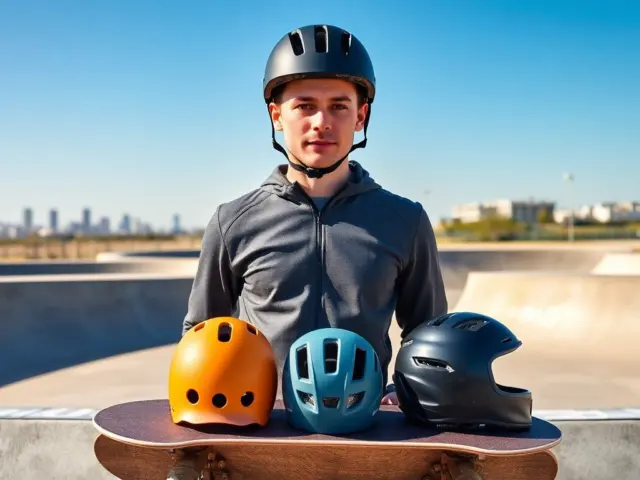
Before you try to learn how to do a kickflip, check your gear and your environment. Deck: choose a deck width that matches your stance and control — most street skaters prefer 7.75–8.25″ depending on shoe size and preference. Grip tape must be clean and provide consistent traction; re-tape or clean grit buildup if your foot slips during flicks. Trucks: set the kingpin tightness so the board tracks straight and turns predictably; too loose and your body will over-rotate. Wheels: medium-hard wheels (78A–92A depending on surface) give a balance between grip and slide. Bearings and hardware: tighten loose nuts but leave axle nuts with a small amount of play so wheels spin freely. Shoes: flat-soled skate shoes with a sturdy toe and grippy rubber help with flick consistency; worn-out soles reduce control. Safety: always wear a helmet for learning tricks, and consider wrist guards and knee pads until landings feel solid. Surface: pick smooth, flat concrete or asphalt with few cracks; a quiet parking lot, skate plaza, or an indoor skatepark floor is ideal. Warm-up: ride for 5–10 minutes and do dynamic ankle and hip mobility—heel raises, ankle circles, and a few controlled ollies—so your joints and muscles are ready for repeated pops and flicks. Finally, set realistic session limits (for example, 50–100 attempts maximum per session with breaks) to avoid fatigue-related sloppy technique or injury.
Master The Fundamentals: Stance, Ollie, And Foot Placement
Mastering fundamentals is the biggest shortcut to learning how to do a kickflip. Stance: your feet should be shoulder-width with knees bent and weight centered over the bolts; a stable, slightly crouched stance absorbs impact and gives spring for the pop. Foot placement: back foot on the tail with the ball of the foot or toes hanging slightly off the edge helps a quick, crisp snap; front foot angled across the deck so the middle of your foot sits between the front bolts allows a controlled flick. A common starting point: back foot on the tail’s tip, front foot diagonally across between bolts with toes pointing toward the heel-side edge. Ollie control: practice 20–50 clean ollies that stay level and land over the bolts — a consistent ollie demonstrates you can generate pop and lift while keeping the board aligned. Body alignment: keep shoulders parallel to the board and eyes on the landing spot; avoid twisting the torso independently of the board. Timing: the kickflip depends on a coordinated sequence—pop, jump, front-foot slide + flick—so drill each element slowly first until the motion flows smoothly.
Practice Ollie Drills To Build Height And Control
Before layering in the flick, solidify your ollie so pop, timing, and level control are automatic. Static ollies: do sets of 20 stationary ollies focusing on a sharp tail snap and sliding the front foot toward the nose to level the board. Motion ollies: add a small roll and repeat sets of 10–20 controlled ollies, keeping knees relaxed and shoulders level. One-foot snapshots: practice popping with just the back foot (while holding the board with the free hand) to isolate the tail snap strength and timing. Front-foot slides: off the board or on a deck held in place, slide the front foot from center toward the nose to build the muscle memory used during the flick. Visual cues: pick a spot on the ground to jump straight up toward so you don’t spin your body mid-air; keep your head up and eyes on the spot where you plan to land. Progress measurement: record sessions or note the number of ollies that stay level and land over the bolts—when you reach steady, repeatable ollies with consistent height, add the flick drills to the session.
The Kickflip Step-By-Step: Setup, Pop, Flick, And Catch
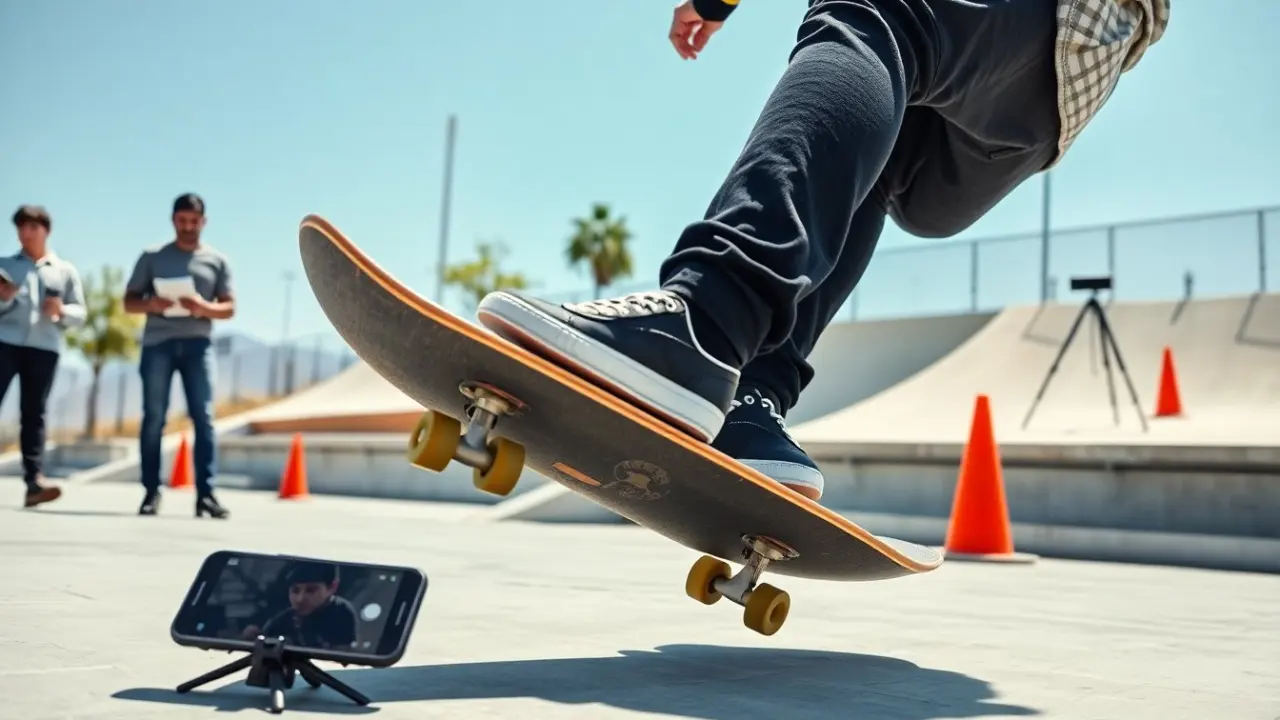
Follow this step-by-step sequence to learn how to do a kickflip, breaking each phase into isolated practice before combining them. Setup: stance with knees bent, back foot centered on the tail edge, front foot angled so the toes sit slightly off-center toward the toe-side rail. Pop: compress both knees and aggressively snap the tail down with the back foot while beginning to jump upward—aim to pop sharply, not slowly, to give the board vertical lift. Flick: as you jump, slide the front foot diagonally forward toward the board’s toe-side corner; at the corner, flick the ankle outward (toward your heel-side) so the board starts a single flip. The flick is a quick, snapping motion of the toes over the board’s corner—practice on the carpet or holding the board stationary to feel the motion. Catch: watch the board rotate and time your feet to catch it when the grip tape faces up again; many skaters catch with the back foot first to stabilize rotation, then bring the front foot down. Landing: bring knees over the bolts, absorb impact with bent knees, and roll away balanced. Combine: after isolated pop and flick practice, do slow-motion reps combining pop + flick without rolling, then add a light roll, and finally full-speed attempts once the sequence feels fluid.
Common Mistakes And How To Fix Them
Understanding common errors speeds learning how to do a kickflip because you can correct the underlying cause rather than repeating the same flawed attempt. Mistake: weak pop that produces low flip height. Fix: do back-foot strength drills and isolated tail snaps while holding the board; increase pop force but keep jumps controlled. Mistake: flicking too late or too early. Fix: practice slow-motion reps where you deliberately time the front-foot slide to happen immediately after the snap—use a count (“pop—slide”) to lock timing. Mistake: sliding the foot straight forward instead of diagonally. Fix: mark the toe-side corner with chalk or tape (on a practice deck) and aim your toes at that corner on the slide so the board flips rather than just scoots. Mistake: catching with one foot and losing balance. Fix: practice timed two-foot catches on stationary flips first, then add a roll. Mistake: over-rotating body or turning shoulders. Fix: keep shoulders aligned with the board, use a visual target on the ground, and avoid torso twist; film attempts to see where rotation begins. Mistake: stiff ankles that block the flick. Fix: ankle mobility drills and relaxed, fast-toe flick repetitions off the board to develop a loose, snapping motion. For each mistake, use short, focused drills (5–10 minutes) that isolate the bad pattern rather than endlessly repeating full attempts.
Progressions, Drills, And Next Steps To Make Kickflips Consistent
Consistency comes from structured practice and measurable progress. Weekly plan: 2–3 focused sessions per week with clear goals (for example: session 1—30 minutes of ollie and pop drills, session 2—30 minutes of flick and catch practice, session 3—combine roll + kickflip attempts). Progressions: 1) stationary flicks and isolated pops, 2) combine pop + flick while stationary, 3) add a slow roll (one or two pushes), 4) increase speed gradually and add variation (different foot angles, stance width). Drills: sets of ten focused attempts with full recovery between sets; carpet or grass practice to feel the flip without fast rolling; one-foot catch drills where you practice catching with back foot first; slow-motion reps filmed at reduced speed to analyze timing. Tracking: keep a simple session log (date, drills, number of solid catches) so you can spot trends and plateaus. Variations and next steps: once you have reliable kickflips, practice fakie kickflips, varial kickflips (add a shove-it), and flick direction variations to build board control in multiple axes. Cross-training: ankle and hip mobility, plyometric jumps, and single-leg balance exercises help with explosive pop and stable landings. Safety and recovery: if you feel pain or unusual stiffness, reduce attempts and focus on mobility and technique; rest days matter. With consistent, focused practice and the progressions above, you’ll convert the first awkward kickflips into a reliable trick you can land under stress and in lines at the park.