An electric longboard kit gives riders a fast way to convert a deck into a powered board. The kit includes motor, ESC, battery, mounts, and remote. This guide explains what each kit part does. It shows how to pick parts for speed, range, and control. It shows simple installation steps and safety checks. Throughout the article we focus on practical choices and common pitfalls so you can evaluate any electric longboard kit against your goals, tools, and skill level.
Key Takeaways
- An electric longboard kit includes essential parts like motor, ESC, battery, mounts, and remote to convert a deck into a powered board efficiently.
- Choosing the right motor, ESC, and battery depends on riding style goals such as speed, range, and hill climbing ability.
- Proper installation involves careful wiring, securing the battery enclosure, and testing the system for shorts and motor response before riding.
- Safety checks including inspecting bolts, belts, deck integrity, and ensuring reliable remote pairing are critical for a safe ride.
- Basic tuning of motor timing and brake strength in the ESC software enhances control and riding experience as confidence builds.
- Selecting quality components and a well-fitting enclosure ensures optimized performance and protection for the electric longboard kit.
What An Electric Longboard Kit Includes And Why Each Part Matters
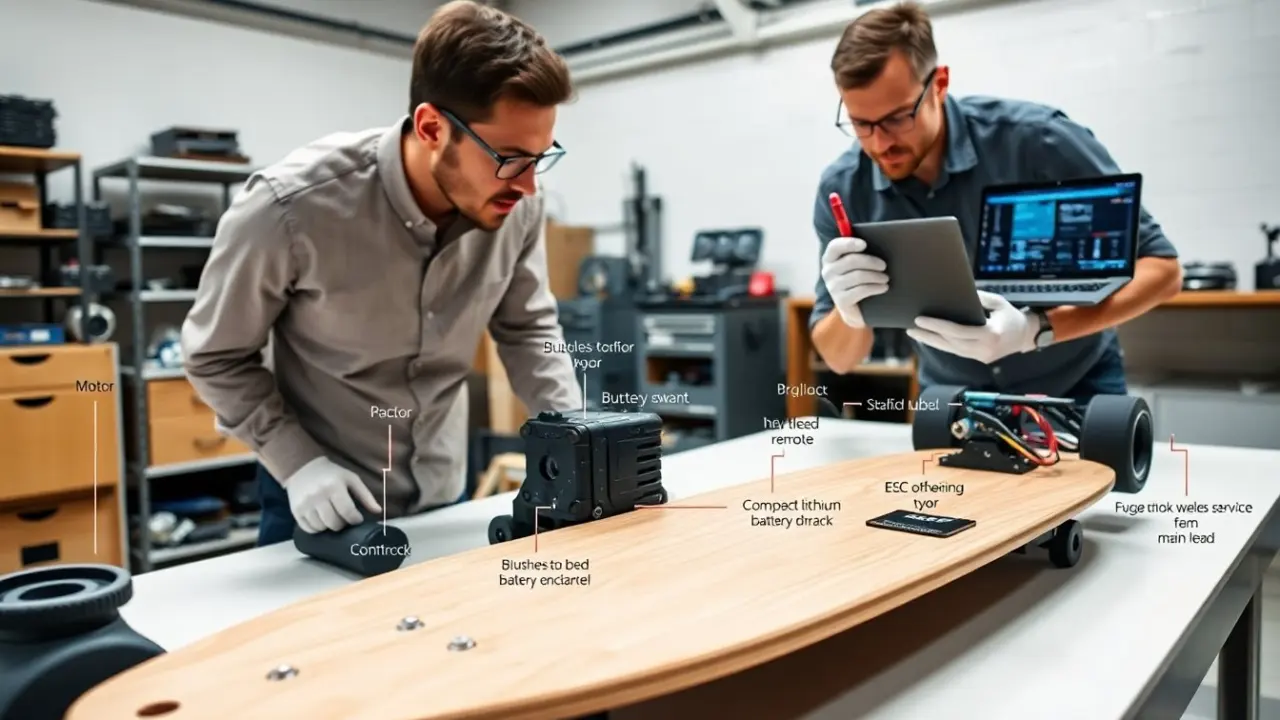
An electric longboard kit usually includes four core items: motor(s), electronic speed controller (ESC), battery pack, and mounting hardware. The motor provides torque and top speed. The ESC controls motor power and braking. The battery stores energy and sets range. The mounts and trucks transfer power to the wheels. Kits vary widely in quality and completeness — some are complete ready-to-install packages while others are minimal and expect you to reuse parts from your existing board.
The kit often includes a remote and receiver. The remote lets the rider command speed and braking. The receiver links the remote to the ESC. The kit may include pulley, belts, or hub adapters. The pulley and belt transmit motor rotation to the wheel. A hub motor kit replaces the wheel core and removes the need for belts. Decide early whether you want a belt drive (easier to service, more noise, better gear ratio options) or hub motors (cleaner look, lower maintenance, but harder to swap wheels).
Each part affects ride feel. A larger motor gives stronger acceleration. A higher-capacity battery increases range but adds weight. A quality ESC allows smooth throttle and safer braking. Stiffer mounts reduce flex and improve power transfer. A worn remote can cause uneven response, so riders should test the controls before a first ride. Also consider single vs dual motor setups — dual motors double available torque and redundancy but add cost, weight, and complexity to the installation and wiring.
Kits can also include safety items. These items may include waterproof connectors, fuses, or simple covers for the electronics. The rider should look for kits that show clear wiring diagrams and parts lists. A clear parts list helps the rider replace items later. The rider should verify wheel size, truck compatibility, and deck clearance before buying a kit. Check the accessory list for mounting bolts, locknuts, and vibration-damping hardware — missing small fasteners are a common source of delay at install time.
Choosing The Right Motor, ESC, And Battery For Your Riding Style
The rider should match motor, ESC, and battery to their goals. If the rider wants top speed, they should choose a higher kV motor with a battery that supports high voltage. If the rider wants hill power and quick starts, they should choose a lower kV motor with higher torque. Commuters who need range should pick a battery with higher capacity and reasonable weight. Consider whether you prefer linear throttle (gradual, predictable acceleration) or a sharper, punchier response — this often comes down to ESC tuning and motor choice as much as motor kV.
The ESC must match motor voltage and current. The ESC also defines available braking strength and regenerative braking. A higher current ESC allows stronger acceleration but it draws more from the battery. The rider should check the ESC’s continuous and peak current ratings. The rider should confirm the ESC firmware supports the motor type and remote protocol. When possible choose an ESC with configurable parameters (timing, brake curve, ramp rates) and an established community or documentation to guide safe tuning.
Battery chemistry matters. Lithium-ion (Li-ion) cells give good energy density. Lithium-iron-phosphate (LiFePO4) cells offer longer cycle life and safety at slightly lower energy density. The rider should pick cells with proper discharge ratings for their motor and ESC. The pack should include a reliable battery management system (BMS) to balance cells and protect against overcharge or deep discharge. Also check the pack’s C-rating (discharge capability) and practical voltage under load — these affect hill-climbing performance and high-current bursts.
The rider should also consider weight and layout. A heavier pack can lower board agility. A pack mounted on top of the deck raises center of gravity, while an enclosure under the deck lowers it. The rider should choose an enclosure that fits the deck and keeps the connectors sealed. Think about serviceability: an enclosure that can be opened without undoing too many bolts makes cell replacement, fuse swaps, and wiring fixes much simpler.
How the rider plans to use the board shapes the choice. For short urban commutes, the rider should pick a medium-power motor and a battery that offers 10–20 miles per charge. For long-range rides, the rider should accept extra weight for a large battery. For frequent hills, the rider should prioritize torque and continuous current capacity. In addition, check local legal limits (some jurisdictions cap electric skate speed or motor power) and choose components that let you limit top speed in software if needed.
Installation, Wiring, Safety Checklist, And Basic Tuning
The rider should follow a clear plan during installation. The rider should lay out all parts and read the wiring diagram. The rider should mount the motor(s) to the motor mount and attach the pulley or hub. The rider should fit the belt and tension it to the specification. Use proper tools (torque wrench or calibrated drivers if available) and thread locker on bolts that see repeated vibration.
The rider should secure the battery enclosure under the deck with bolts and vibration pads. The rider should route wiring away from moving parts and sharp edges. The rider should use heat shrink and correct connectors. The rider should fuse the positive battery lead near the pack. Use looms or spiral wrap to keep multiple wires tidy and protected; leave a small service loop so components can be removed without straining connections.
The rider should ground test the system before first power. The rider should confirm no shorts exist and check continuity. The rider should power the system with the board elevated and wheels off the ground. The rider should test low throttle first and confirm motor rotation matches the remote input. If the motor spins the wrong way, swap any two of the motor phase wires (for brushless) or use the ESC’s direction setting; avoid rewiring polarity on the battery or signal leads.
The rider should perform a safety checklist. The rider should check bolts, belts, and truck tightness. The rider should inspect the deck for cracks and the wheels for wear. The rider should confirm the remote pairs securely and shows no signal loss during a short ride. Also test the braking at low speed in a controlled area — verify the board comes to a stable stop without sudden lockups or uncontrolled regenerative kickback.
For basic tuning, the rider should adjust motor timing and brake strength in the ESC software if available. The rider should set a conservative max current for initial rides. The rider should increase settings gradually as confidence grows. The rider should test on a quiet road and wear helmet and pads. Keep a simple maintenance log (belt replacement intervals, torque checks, battery charge cycles) and re-check fasteners after the first few rides — new mounts and bolts often settle and can loosen slightly.